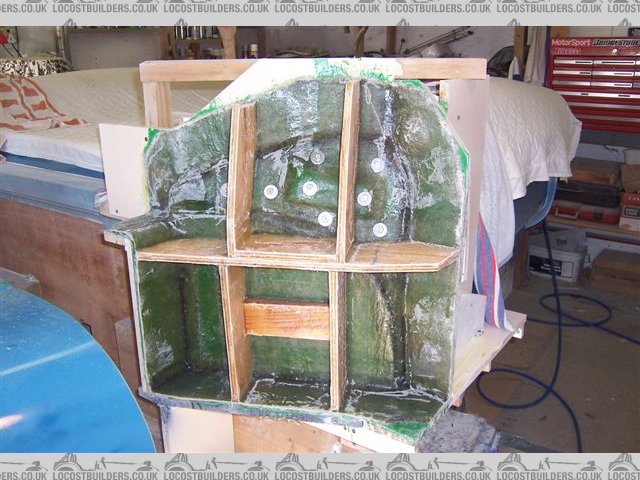
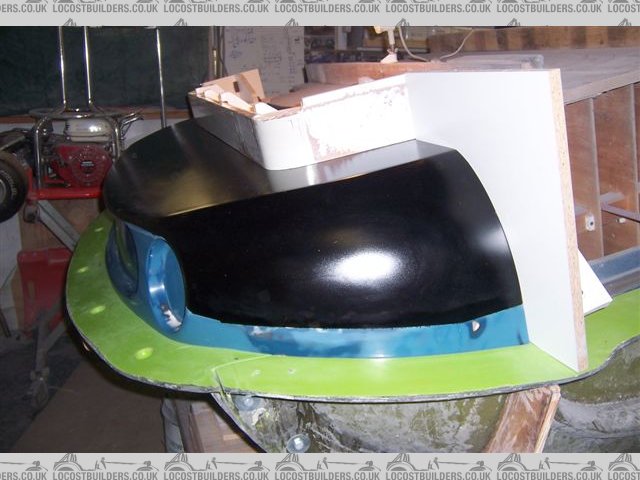
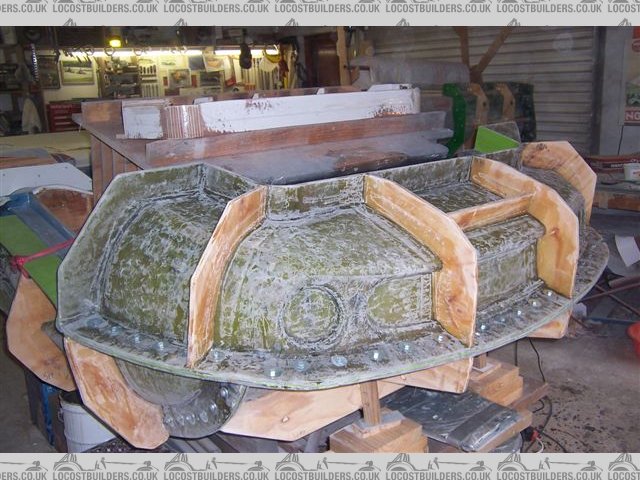
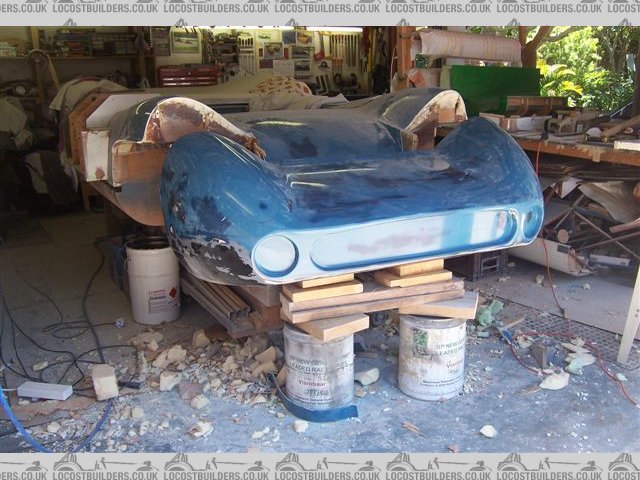
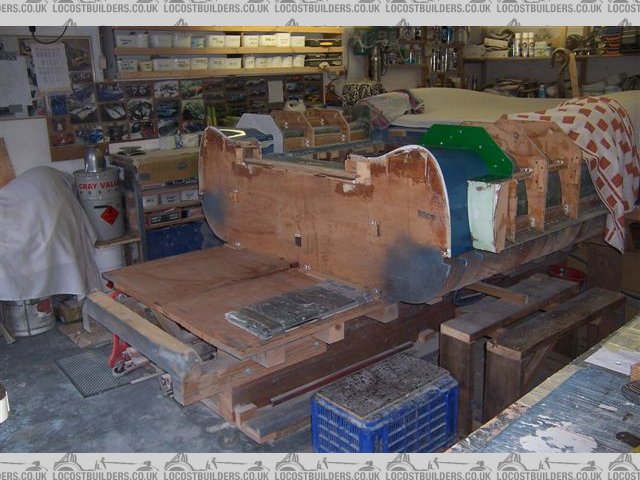
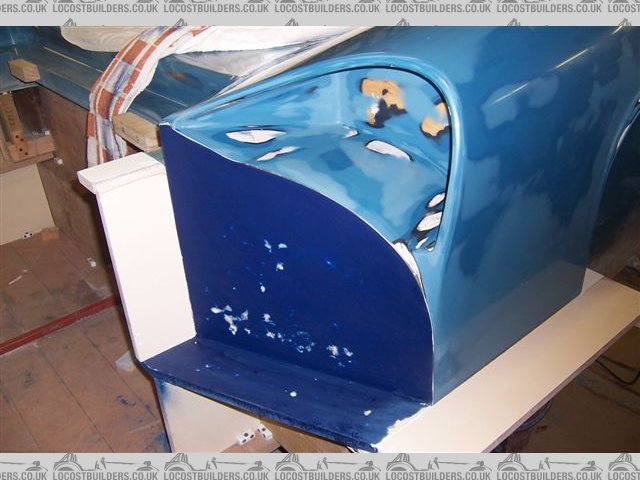
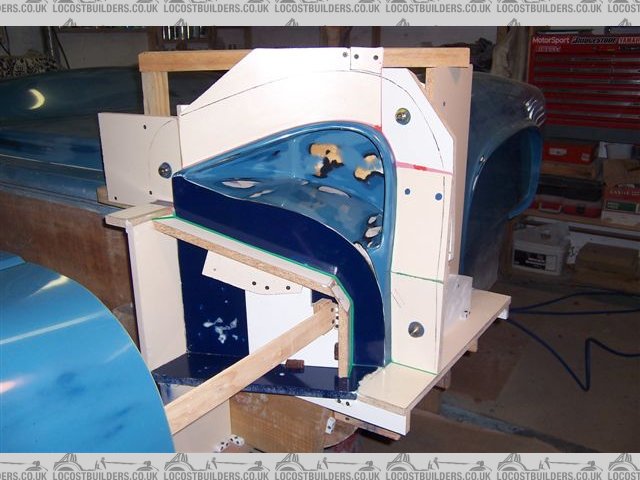
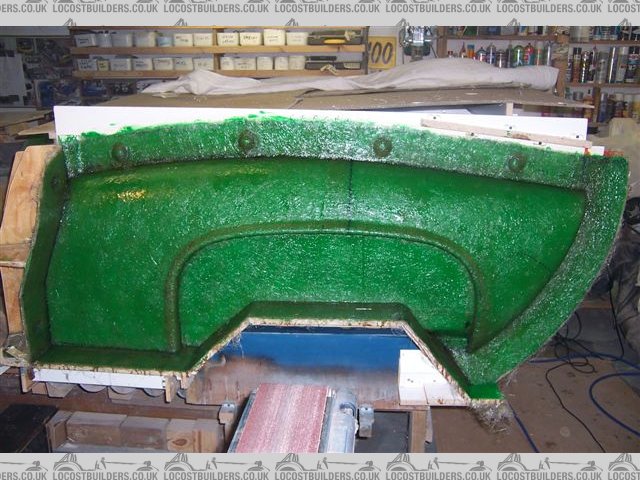
Finished the first 2 sections of what will be a 6 piece tail mould, these being the outer face sections of the forward facing areas of the tail, including the inserts that make it possible to form the inner surfaces of the "hip ducts".
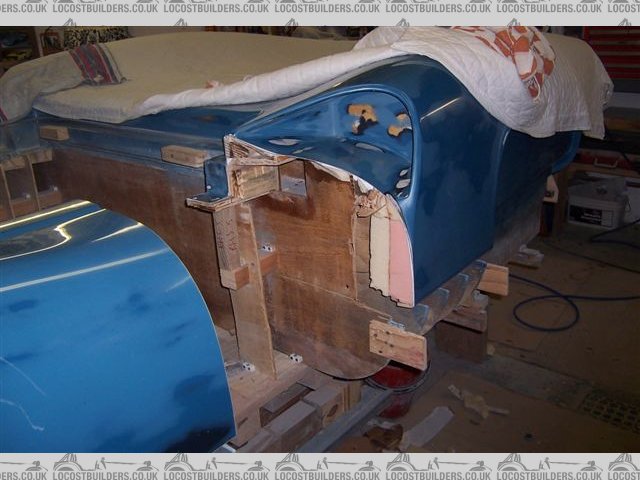
After making the insert moulds, these were closed off, and another mould made over them over the full forward facing surfaces. The surface down towards the belt line may be bigger than necessary, I can cut the parts back if needed later. I incorporated a step out block to give a register between the insert and face moulds. The insert section moulds are secured to the face moulds with screws.
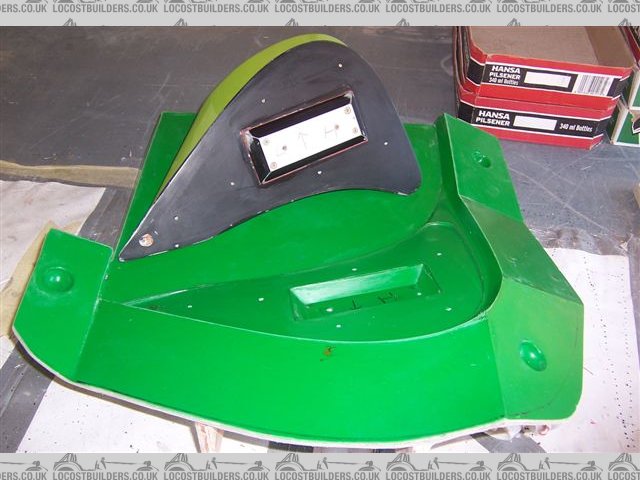
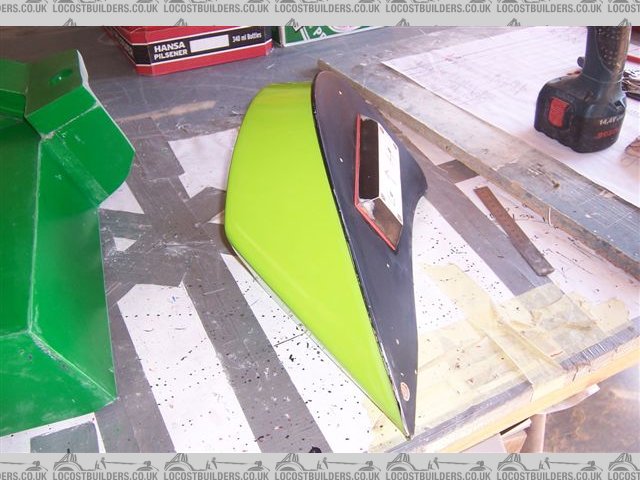
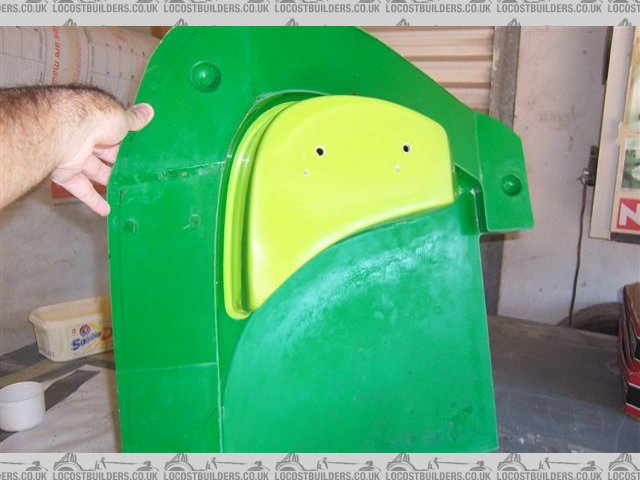
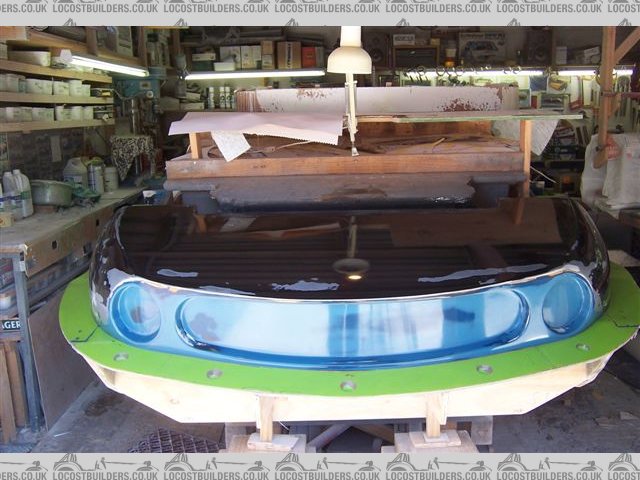
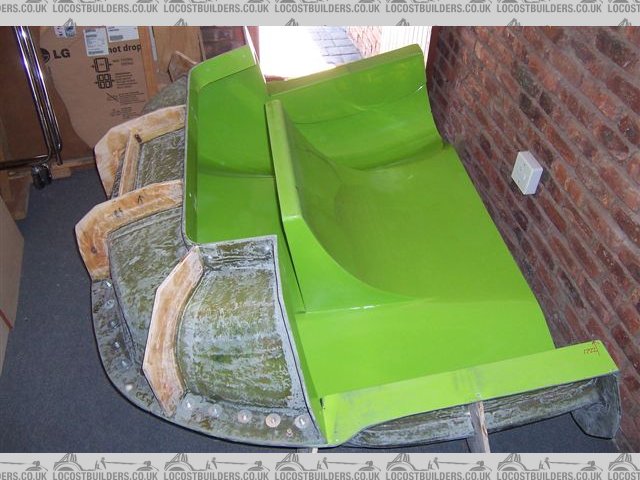
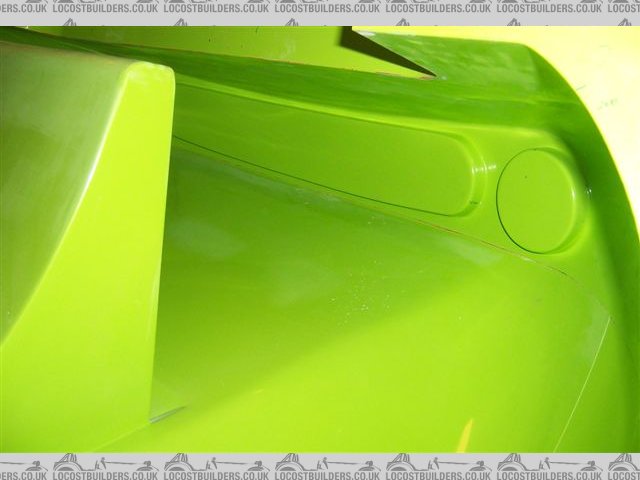
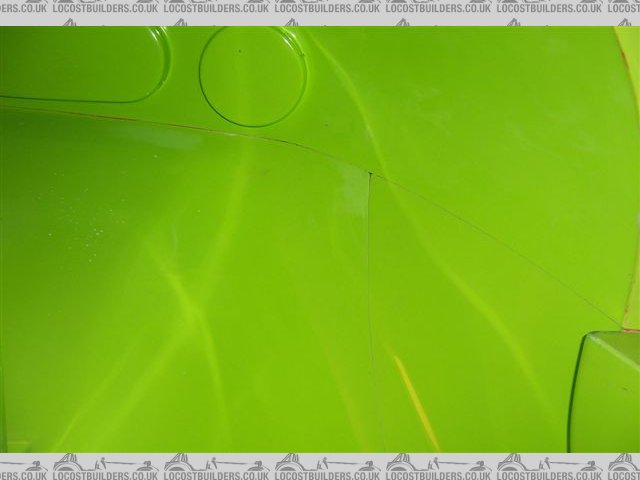
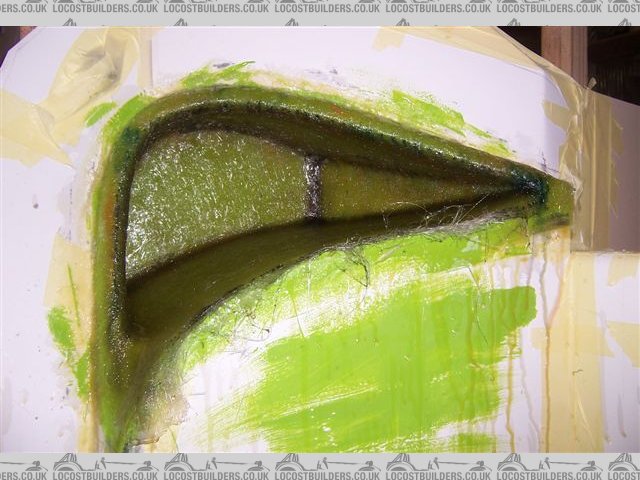
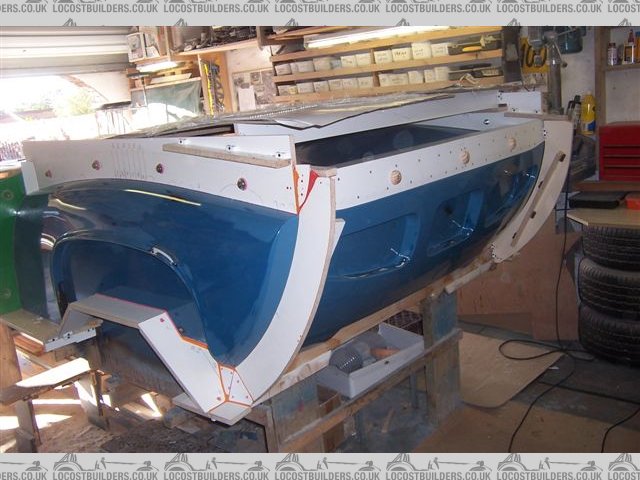
The idea is that the full tail part is first made with the insert section removed from the face mould. The open area of the duct is then cut out, up to the join line. The insert mould is than screwed to the removed face mould and a moulding made separately of the insert. The insert part is then trimmed to the join line, the insert part put back onto the mould and the face mould bolted back into the full part mould, so that it positions the insert part in the correct place. The insert part is then bonded into the tail part.
Hope that makes sense, the pictures may help explain what I am trying to do. The insert and face moulds happen to be made with different colour green tooling gel, which make the join line easy to see