CANAMSA - Newbie with T70 inspired project

Fred W B
Posts: 86
Joined: Wed 09 Apr 2008, 20:25
Location: Port Elizabeth

Re: CANAMSA - Newbie with T70 inspired project

Post by Fred W B » Mon 08 Feb 2010, 19:29

Hi All

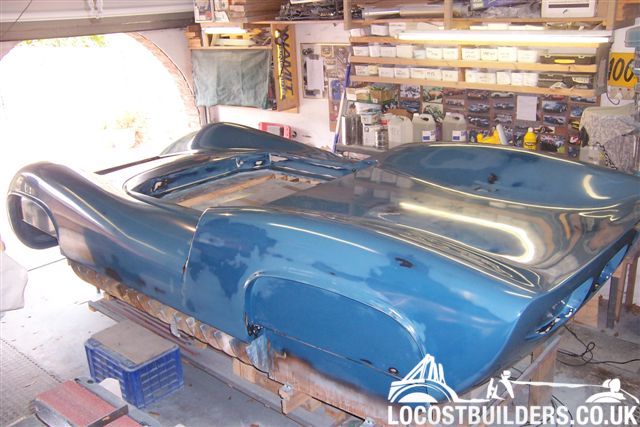
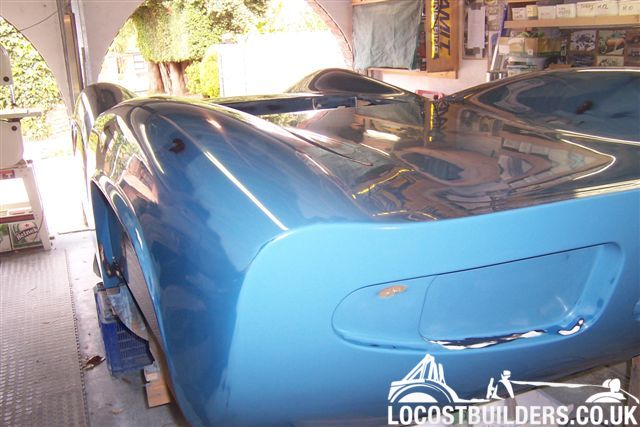
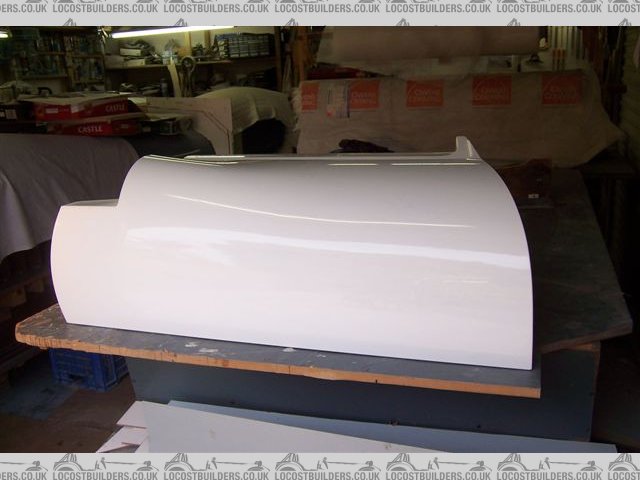
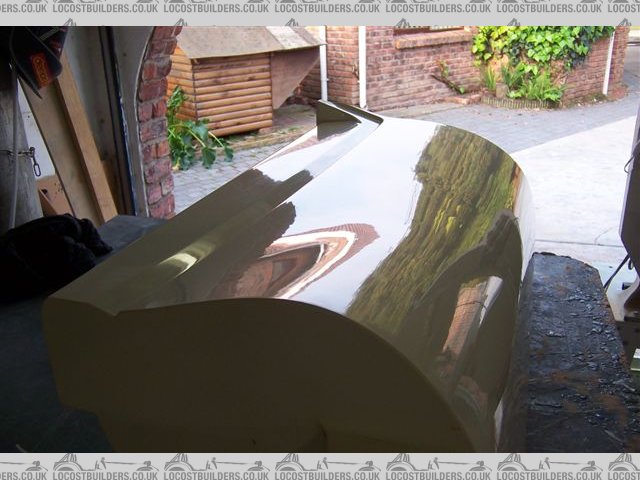
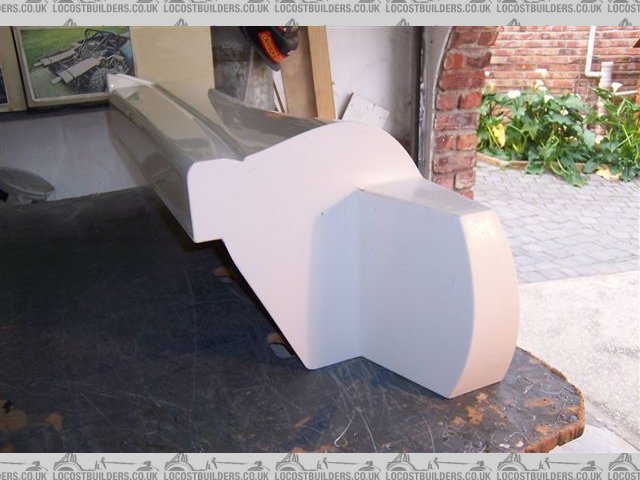
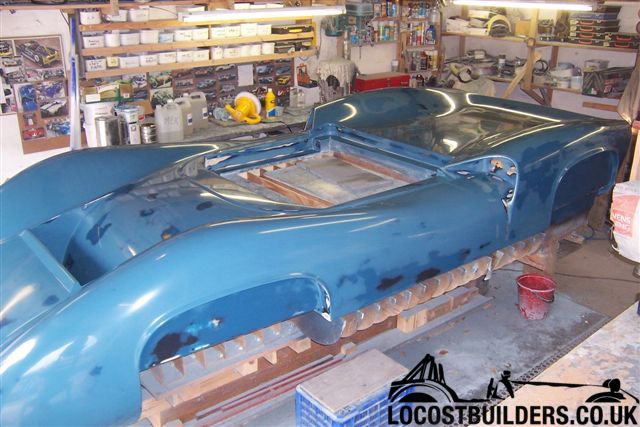
Finally the body pattern is finished!

The time since the last update has been occupied by:

Finishing off edges and radiuses.
Checking and ensuring symmetry on left and right hand sides in some areas with the aid of templates and levels.
Sanding the last paint guide coat over the body filler back with 120 grit.
Applying coat one of the Durabuild surfacer primer.
Sanding with 240 grit.
Applying coat two of the Durabuild surfacer primer.
Sanding with 240 grit.
Applying coat three of the Durabuild surfacer primer.
Sanding with 240 grit.
Sanding with 380 grit.
Sanding with 600 grit.
Sanding with 800 grit.
Sanding with 1200 grit.
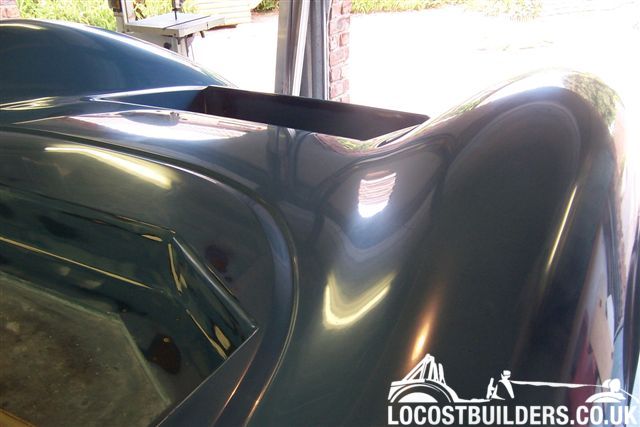
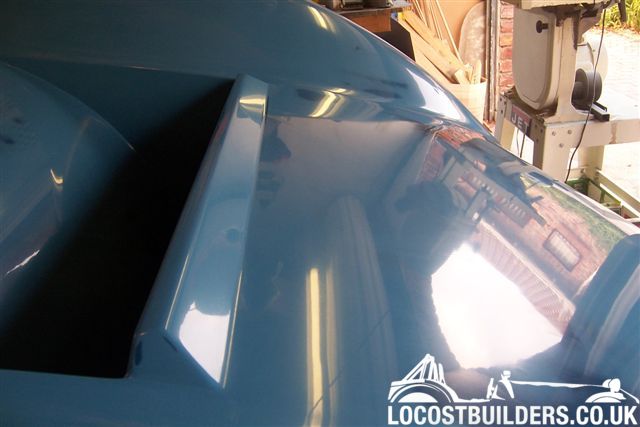
Polishing with coarse cutting paste.
Polishing with fine cutting paste.

As the gloss comes up as you polish you see some areas where the 1200 has not taken previous grit scratches out so I have to go back to 1200 grit and then polish again etc, etc.

Next time I work on the car, which will be in a couple of weeks time, I will start with the marking out for and making the parting fences for the moulds.

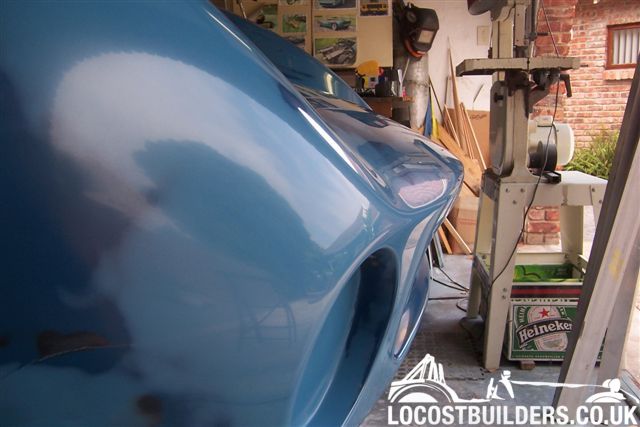
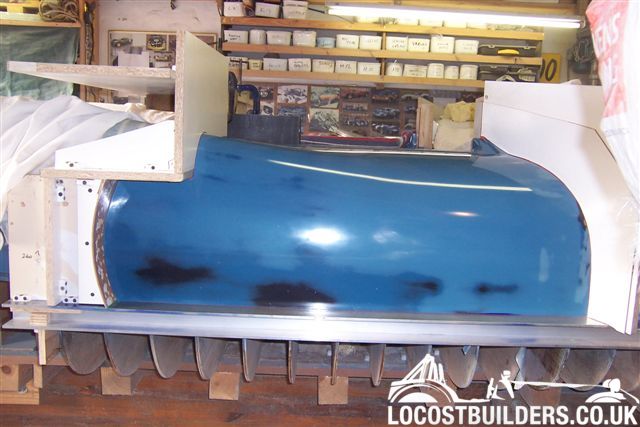
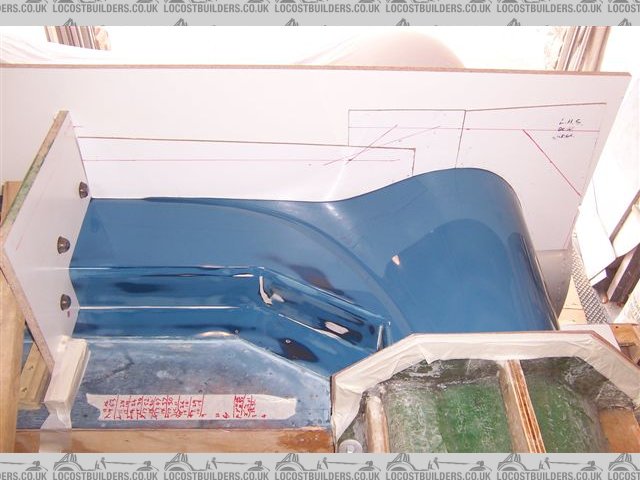
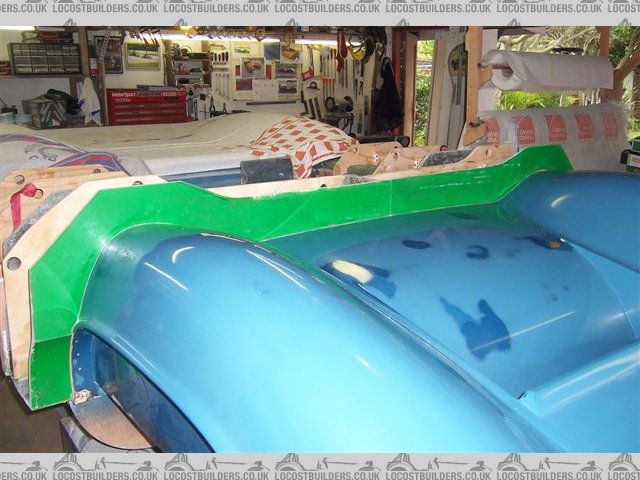
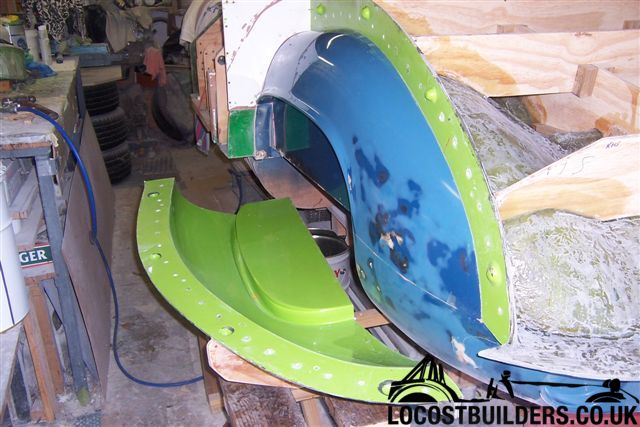
I include some gratuitous photos. It looks a bit tatty with the three different colours showing but in hindsight it was very helpful that I pigmented the first coat of surfacer primer black, the second dark blue and the third light blue. As you sand back you can see where you are, when you get to the black layer you stop! This was a pure fluke, due only to the pigments my supplier had in stock at the time and not some clever pre planning on my part.

Cheers

Fred W B
Image

Image

Image

Image

Image

Image

overambitious
Posts: 25
Joined: Tue 19 May 2009, 07:20
Location: Johannesburg

Re: CANAMSA - Newbie with T70 inspired project

Post by overambitious » Wed 10 Feb 2010, 21:47

Wow,absolutly fantastic! I admire your comitment,not many people have the ability to not only take on a project like this,but also see it through!

User avatar
Chooms
Posts: 115
Joined: Wed 19 Nov 2008, 12:24
Location: Cape Town

Re: CANAMSA - Newbie with T70 inspired project

Post by Chooms » Thu 11 Feb 2010, 16:59

Hi Fred
Looking awesome! I can honestly say that I am sure that your project is a great inspiration to many members of this forum. The scale of your project just proves that some of the most ambitious plans and dreams are achievable, if one applies your heart and mind (blood, sweat, tears?) to it. Well done, and keep it up.
Cheers
G.
The dust will choke you blind,
The lust will...choke your mind.
- Rodriguez

Fred W B
Posts: 86
Joined: Wed 09 Apr 2008, 20:25
Location: Port Elizabeth

Re: CANAMSA - Newbie with T70 inspired project

Post by Fred W B » Sun 12 Aug 2012, 21:34

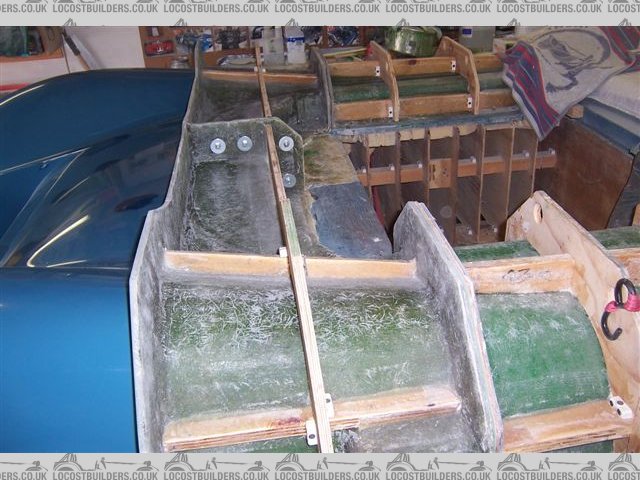
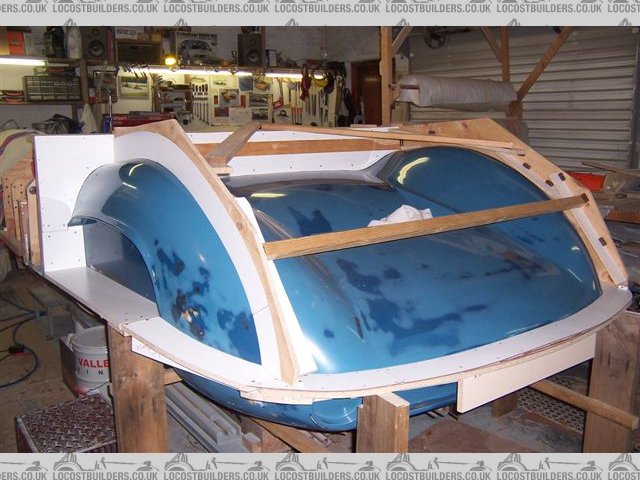
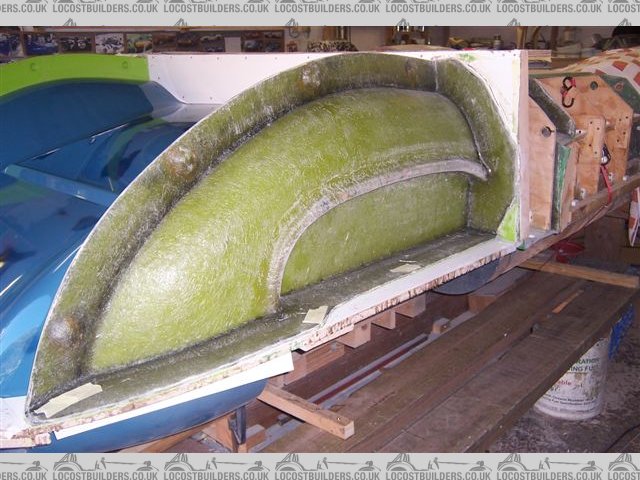
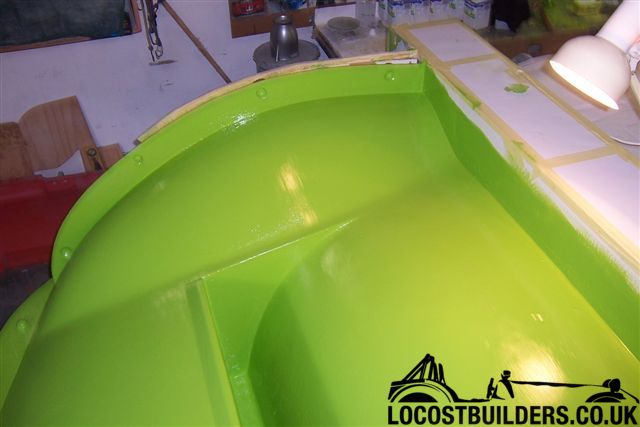
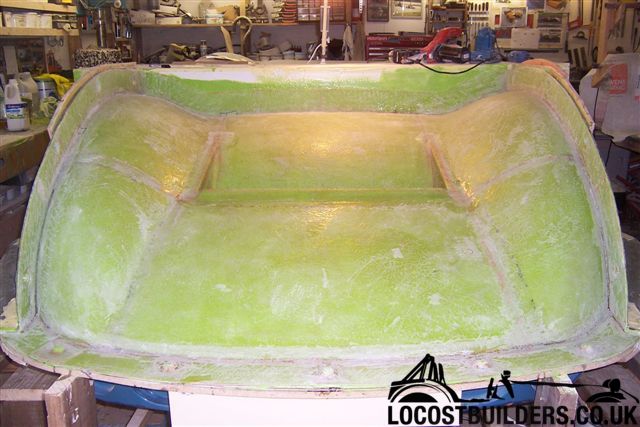
Let me add an update on progress with mold making.

So the next steps were to get the parting lines and fences done for the door perimeters . These were laid out with the aid of dimensions and pictures supplied by the very helpful owner of an original T70 in America.

Then 10 repeats with wax on both doors.

Small gaps between the fences and the pattern were filled with kids plasticine

Image
Last edited by Fred W B on Sun 12 Aug 2012, 22:29, edited 1 time in total.

Fred W B
Posts: 86
Joined: Wed 09 Apr 2008, 20:25
Location: Port Elizabeth

Re: CANAMSA - Newbie with T70 inspired project

Post by Fred W B » Sun 12 Aug 2012, 21:37

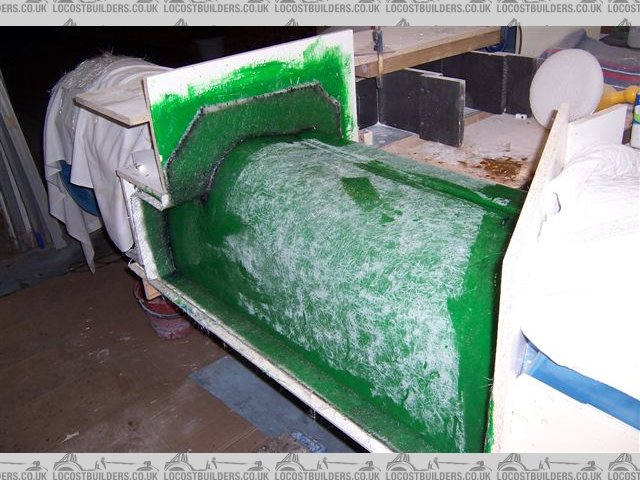
Then on with the first door mould. I put on two coats of tooling gel and laid up 1 x surface tissue, 1 x 300 gram and 5 x 600 gram layers. Double thickness on the flanges.

Took me a while to get the "knack" of laying up. I put on two layers at a time. I let it rest for a good few days or a week between each session. The trick is to get all the bits of mat tailored exactly to fit prior to catalyzing the resin. I also prepared two or three small mixes, to use in one session, rather than mixing all the resin at once and rushing to get the whole thing done before it went off. The surface area of the door is 0.8m2. The flat bits are easy to do, its the fiddly bits on the returns that take time.

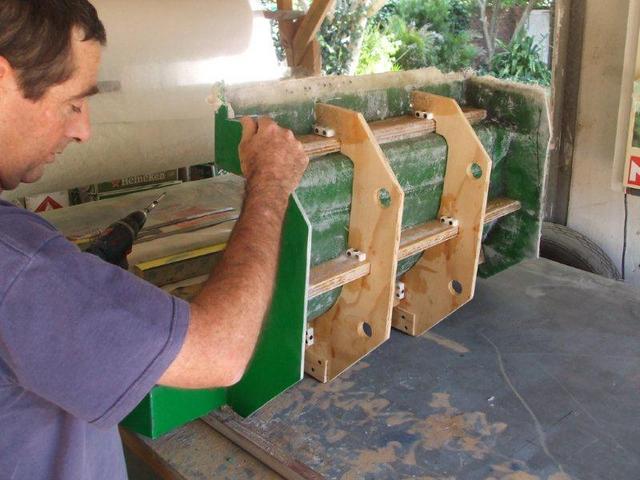
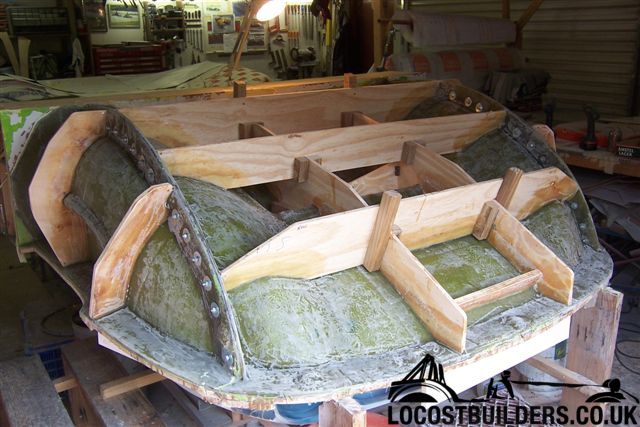
then added some plywood bracing. I bonded only the longitudinal pieces to the mould, the transverse pieces were secured together and to the longitudinals with screws to hopefully eliminate "print through" of the transverse ribs.

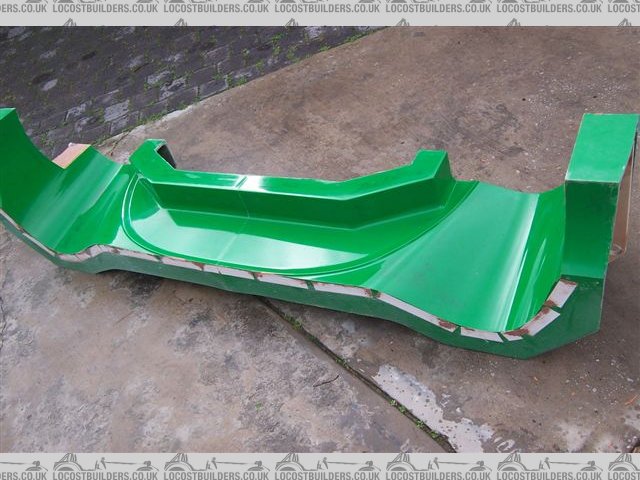
To released the first door mould took some determined pulling with the aid of some friends but it eventually released cleanly, with no damage to the gel coat.The mould surface looks good enough to make parts (that will be painted) straight away with no further finishing. Lines are true and it appears "print through " is not a problem. The rough looking edges in the pic is just where some plasticine is still adhering.

I removed this mould now as I wanted to cut the door sections out of the pattern once the doors are made to permit easier access to the top sections of the front and rear clips as I make those moulds. The forward facing sections of the rear section will have wood inserted to enable me to make the mould section for the return on the rear clip that is "in the door gap".

Cheers

Fred W B
Image

Image

Image
Last edited by Fred W B on Sun 12 Aug 2012, 21:43, edited 1 time in total.

Fred W B
Posts: 86
Joined: Wed 09 Apr 2008, 20:25
Location: Port Elizabeth

Re: CANAMSA - Newbie with T70 inspired project

Post by Fred W B » Sun 12 Aug 2012, 21:40

Image

Image

Fred W B
Posts: 86
Joined: Wed 09 Apr 2008, 20:25
Location: Port Elizabeth

Re: CANAMSA - Newbie with T70 inspired project

Post by Fred W B » Sun 12 Aug 2012, 21:46

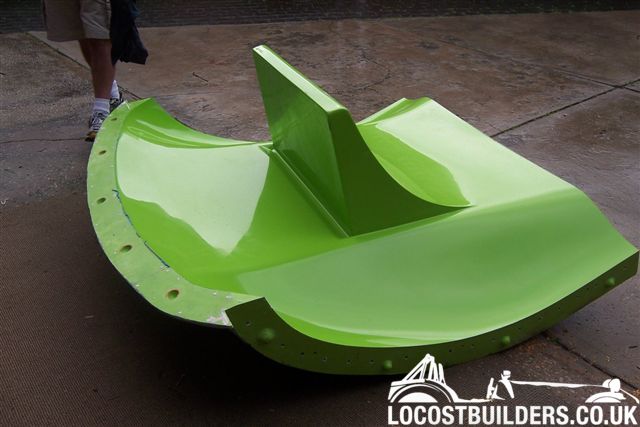
Made up the first real part. I left it in the mold for two weeks. The lay-up I used is:

Gel coat (I first stripe coated all the corners/edges, then two more applications).
1 layer 300 gram CSM.
2 layers 600 gram CSM.
This gave me a final thickness of between 3 and 3.5 mm.

I added extra thickness on the edges, and in the forward part of the door and hinge recess.

The final part weighs 5.5 KG.

The pics are as the part came out the mould, with just the edges cleaned up a bit.

My skills with applying the gel coat and laying up are improving, but still some way to go. I have to keep telling myself "Don't Panic" as I try to get it all done neatly before the resin goes off.

Cheers

Fred W B
Image

Image

Image

Fred W B
Posts: 86
Joined: Wed 09 Apr 2008, 20:25
Location: Port Elizabeth

Re: CANAMSA - Newbie with T70 inspired project

Post by Fred W B » Sun 12 Aug 2012, 21:54

and proceeding with scuttle mould

Image

Image

Image

Fred W B
Posts: 86
Joined: Wed 09 Apr 2008, 20:25
Location: Port Elizabeth

Re: CANAMSA - Newbie with T70 inspired project

Post by Fred W B » Sun 12 Aug 2012, 21:59

and nose mould

Image

Image

Image

Image

Image

Image

Fred W B
Posts: 86
Joined: Wed 09 Apr 2008, 20:25
Location: Port Elizabeth

Re: CANAMSA - Newbie with T70 inspired project

Post by Fred W B » Sun 12 Aug 2012, 22:00

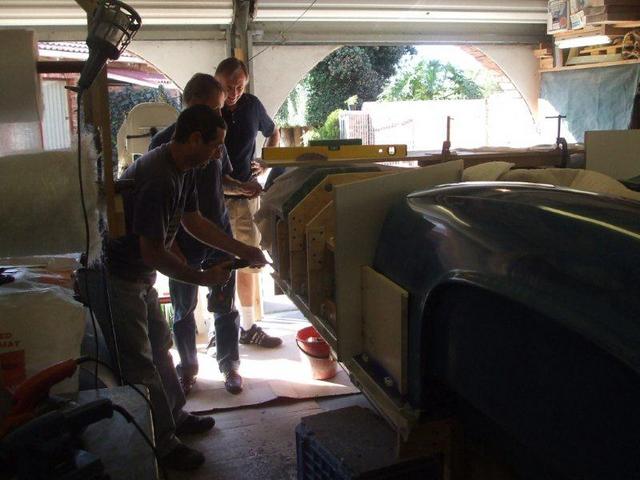
Had to round up some mates to help lift off the bigger bits. The scuttle mould came off easily

Image

but the nose upper section put up more of a fight. Judicious use of levers, wedges, ratchet straps, roof rafters, hammers and mallets was necessary to "crack" it loose. It's a damn big heavy piece but it came off eventually.

Amazingly all the surface of the pattern stayed behind.
Image

Post Reply

Social Media


Who is online

Users browsing this forum: No registered users and 2 guests