Grizz's Redneck Express 1966 Chevy Short Fleetside BILLYBOB

Pictures of your muscle car!
Grizz1963
Posts: 160
Joined: Sat 18 Feb 2017, 08:25

Re: Grizz's Redneck Express 1966 Chevy Short Fleetside BILL

Post by Grizz1963 » Thu 27 Apr 2017, 12:17

Johann66 wrote:Have you thought of converting the rear brakes to disk? Not difficult!
Johann

Not worth doing ng on a R4000.00 car.

It stops and starts just fine.

Grizz1963
Posts: 160
Joined: Sat 18 Feb 2017, 08:25

Re: Grizz's Redneck Express 1966 Chevy Short Fleetside BILL

Post by Grizz1963 » Thu 27 Apr 2017, 12:18

bmwmaniac wrote:when I saw your "shed of spite" sign, the first thing that came to mind is "spyt kom altyd te laat"
Long story to that name.

But you are right about spyt.


So once the existing shed was moved, the next job was to level out and clean up and place some of Kevin's old pavers on a very thin layer of sand..

There will also still be strips of wood under it when done, just to keep the floor as dry as possible.

Image

Then of course I had to dismantle the existing garden after 6 years of carting stuff like stones, logs, ornaments and other plants in there.

Pile of rocks, to be redistributed later.

Image

Measure and peg out the basic line where I wanted to get to with the new shed.

Using all sorts of rubble to create a dry wall behind which all the solid dug out will go.

Image

Most nights after work I would get an hour or two in to dig a bit or move stuff about as I get home around 5-6pm if traffic and trains work well. So little by little it moved ahead.

Image

Image


One evening I had to pop in at my GP to collect my yearly antihistamine prescription.......

And had another Hallelujah moment.

In the garden of the practice was a large skip.

Yes, I cannot resist a skip.

And in the skip.......... MONEY !!!!!

Seriously, cash is all around if you keep your eyes open.

I saw this used garden gate.

Image

Went inside and asked about it, before getting to my pills.

Of course you can have it if you want it.

Went home, fetched the Prozac Berlingo and also did a Google search to find the following.

£165.00 for the gate, excluding delivery or hardware. Online was free delivery. But regardless, not everyone would have that luxury.

Image

Gate in the back, flat on the floor and tailgate strapped to it with some electric cord from the skip..... happy days.

Image


Crazy Crazy world.

Free Money.

Who would say no to free cash??

I don't care how arrogant or up your own wallet you are, but if I tossed £165.00 on the floor in front of you, and said "Pick it up, it's yours" and you could go out to some pretentious restaurant and spend it on an overpriced meal, you probably would.

To me, these freebies translate into a new truer on my bike, a replacement circular saw etc.


So bit by bit the other parts of the garden where I had removed dead growth started to get filled with the soil dug out on the new site.
Carried there load by load.

Image

More later, time for work now.

Grizz1963
Posts: 160
Joined: Sat 18 Feb 2017, 08:25

Re: Grizz's Redneck Express 1966 Chevy Short Fleetside BILL

Post by Grizz1963 » Thu 27 Apr 2017, 21:13

More photos of the original progress on Prozac.

Base layer mocked up.

Image

Fitted.

Image

Then of course came the time to start working on the final look planned for the car.

Image

Numbers custom cut for the Berlingo doors by Dennis.

I think he had as much fun as I did up to this point.

Image

Image

Miss Katy had come over to help as well, one needs to have an octopus like reach, and with the wind blowing one needed reflexes of a whippet to get them down right.

Image

At this point, I actually loved the look.

But of course we were on a mission.

To create a dummy NASCAR support vehicle.

All tongue firmly in cheek.

Image

We then had lunch while the wind pumped away.

The next session would be easier, but also challenging as I needed to get the look right, using real trucks to get the placement right.

More in a bit.

Grizz1963
Posts: 160
Joined: Sat 18 Feb 2017, 08:25

Re: Grizz's Redneck Express 1966 Chevy Short Fleetside BILL

Post by Grizz1963 » Thu 27 Apr 2017, 21:54

Once all the grafix and stickers were stuck, it was out to the farm for some photos.

Image

Image

Image

Image

Top view

Image

And of course the full length fabric sunroo, alwaysva joynto operate.

Image

One of the other ballache jobs to do was to replace the broken brake bias valve spring.

At £22.00 it's a rip off but needed part.

Image

Old vs New.

Image

Of course to fit it you need pencil thin fingers and long too, bit like an alien, to get into the available space.

Image

Took me an hour I guess, incl removing the spare wheel etc, and refitting.

Still, it's done.... one more box ticked for MOT time.

Image

Also finally finished the rear end.


Image

May be almost up to date on the van.

But more to go.

Thanks Photophukkit.

Grizz1963
Posts: 160
Joined: Sat 18 Feb 2017, 08:25

Re: Grizz's Redneck Express 1966 Chevy Short Fleetside BILL

Post by Grizz1963 » Thu 27 Apr 2017, 23:20

I mentioned Kevin coming over.

Saturday of Easter weekend, early morning with his long VW van.

Loads of reclaimed timber, 3x3 posts from crates.

Also four met posts I bought off him for the same he paid as he was not going to use them.

Kevin had also agreed to come spend a few hours here, helping me break the back on this big dig out.

So we moved a lot of soil, some for top dressing the lawn, which ultimately I reused to raise the level under the pavers that were going into the shed.

Unfortunately I took no photos through the morning we worked as time was limited.

So once he went off to rejoin his family, I carried on levelling out the soil.

Preparation is as always one of the most important things to do.

Image

Pavers and posts in place.

Image

Image

Saturday morning I was up by 05.00 and in the garden moving stuff around before 06.00 got to say I love summer.

I had some bricks to lay before going over to Katy's place. And to me time is precious, so get stuff done..... soonest.

Image

I am using a solid lower level all the way around.

Kevin was also able to get me some railway sleepers that I am planning to use as the bottom of the shed, preventing the usual rot for a few years longer than regular pine.

Image

Once I had laid the bricks, I watered down, but added some cement powder to the left over and then spread it with a yard broom just to get all the slabs the same colour.

Happy with the result too.

Image

Weekends away from home frustrate me as I know how much work is still there, but as usual I guess there are times when doing nothing is the right thing.

So Katy and I ended up in Eastbourne.

Fish and chips, walk on the esplanade, ice cream and of course collecting holes rocks to string up under my tree.

Image

Happy girl, exactly the opposite to not progressing with my build.

Still.....

Image

Grizz1963
Posts: 160
Joined: Sat 18 Feb 2017, 08:25

Re: Grizz's Redneck Express 1966 Chevy Short Fleetside BILL

Post by Grizz1963 » Fri 28 Apr 2017, 08:45

Summer is here.

I may have mentioned it.

But that does not stop the rain from waiting to exactly the time you need to work to start opening up.

My one neighbour has a Toyota van that I have a spare set of keys to and 24/7 access and use to, as long as the diesel levels stay the same. Pretty good deal ehhh??

Anyways, last week I managed to get a day that was convenient for Andy who I bought Prozacs wheels from to pop over after work in the evening, but the Toyota was unavailable, plus the wood I was collecting for the shed build mostly was 2.4 meter lengths, so Toyota would not work.
So Stuart said take the Citroen van, long wheelbase, high roof......

Of course on the way there it started to rain, escalating while we were loading.

What a great van to drive, it really shunts.

Image

Photos need to be taken.

Andy thankfully helped, so it went quite fast.

Image

I suspect he was happy for the wood to leave his property after languishing in a corner for years.
He had planned on building a shed from these recycled 1 inch planks, but he ended up buying a large built shed and having it installed as workshop.

Image

Loaded.

Deceptively large interior on the van, and full 8 foot plus flooor.

Image

Headed home and was back home by 7pm

Reversed down my drive, mirrors tucked in and actually had to weave the van around the concrete fence posts as it would not go straight through.


Down to the bottom of the garden to unload and create even more of a hoard pile.

Image

Unpacking on my own, the keen of eye amongst you will see if you look carefully....... Imhad a helper. Can you see her yet?

Yup...... HARLEY.

Image


Some more of the loose planks on the other side, and the upright posts were some of what Kevin had brought over at Easter.

And of course the pile of stuff behind it, part of the reason I am building this shed.

The £40.00 caravan/shed also filled with "stuff"

I do pity the person who has to sort out my estate.

Image

Once unloaded I really did worry about getting the van out again, it was a very tight fit coming in, and getting out is more difficult in my book.

Remembered to stop and take a pic of the gap.

The Citroen is certainly wider than the Sprinter vans I have reversed down there, and the car trailer and Teardrop previously.

Still, made it out and returned the van to Stuart.

Cost formdiese, well what I put in for the 30 mile trip was £30.00 so wood still a bargain, and Andy threw in some left over roofing felt, you know, to cover that last 18 inches you do not want to go buy a whole new roll for.


Photo is slightly confusing, but you can see the gap down the side of the van.

Image

Other than the short pieces, these planks are attached to each other in 3 or 4 plank strips with pallet nails, hit in from both sides at angles, so not fun to dismantle.

Image

When unpacked I thought I would just measure up and mock up the roof frame to see what I had to work with.

Of course the tools came out and I ended up adding a bit more to the frame.

Image


More later on further progress.


It's also weekend...... well, after work today.

Grizz1963
Posts: 160
Joined: Sat 18 Feb 2017, 08:25

Re: Grizz's Redneck Express 1966 Chevy Short Fleetside BILL

Post by Grizz1963 » Sun 30 Apr 2017, 07:37

Insomnia sucks, as does snoring, especially when it is not you snoring..... cue 04.15

Followed by a cat in bed around the same time, looking for a cuddle, while purring loudly, so snores one side, and Harley the other, so cuppa tea, feed cat and surf web downstairs.

At 05.15 on cue the lodgers came in from their night shift, a pair of brothers, twins and at age 68 they look more like 58 and behave like men much younger than that. Geordies...... so great to have booked into Casa Grizz for three days, money to the mortgage again. Quiet as mice, they along with the previous two, have been an absolute pleasure to have around. Long may it continue.

Back to the shed build.

I have tried to just get a couple of hours in every night after work till dark, so averaged around 2 hrs a night.

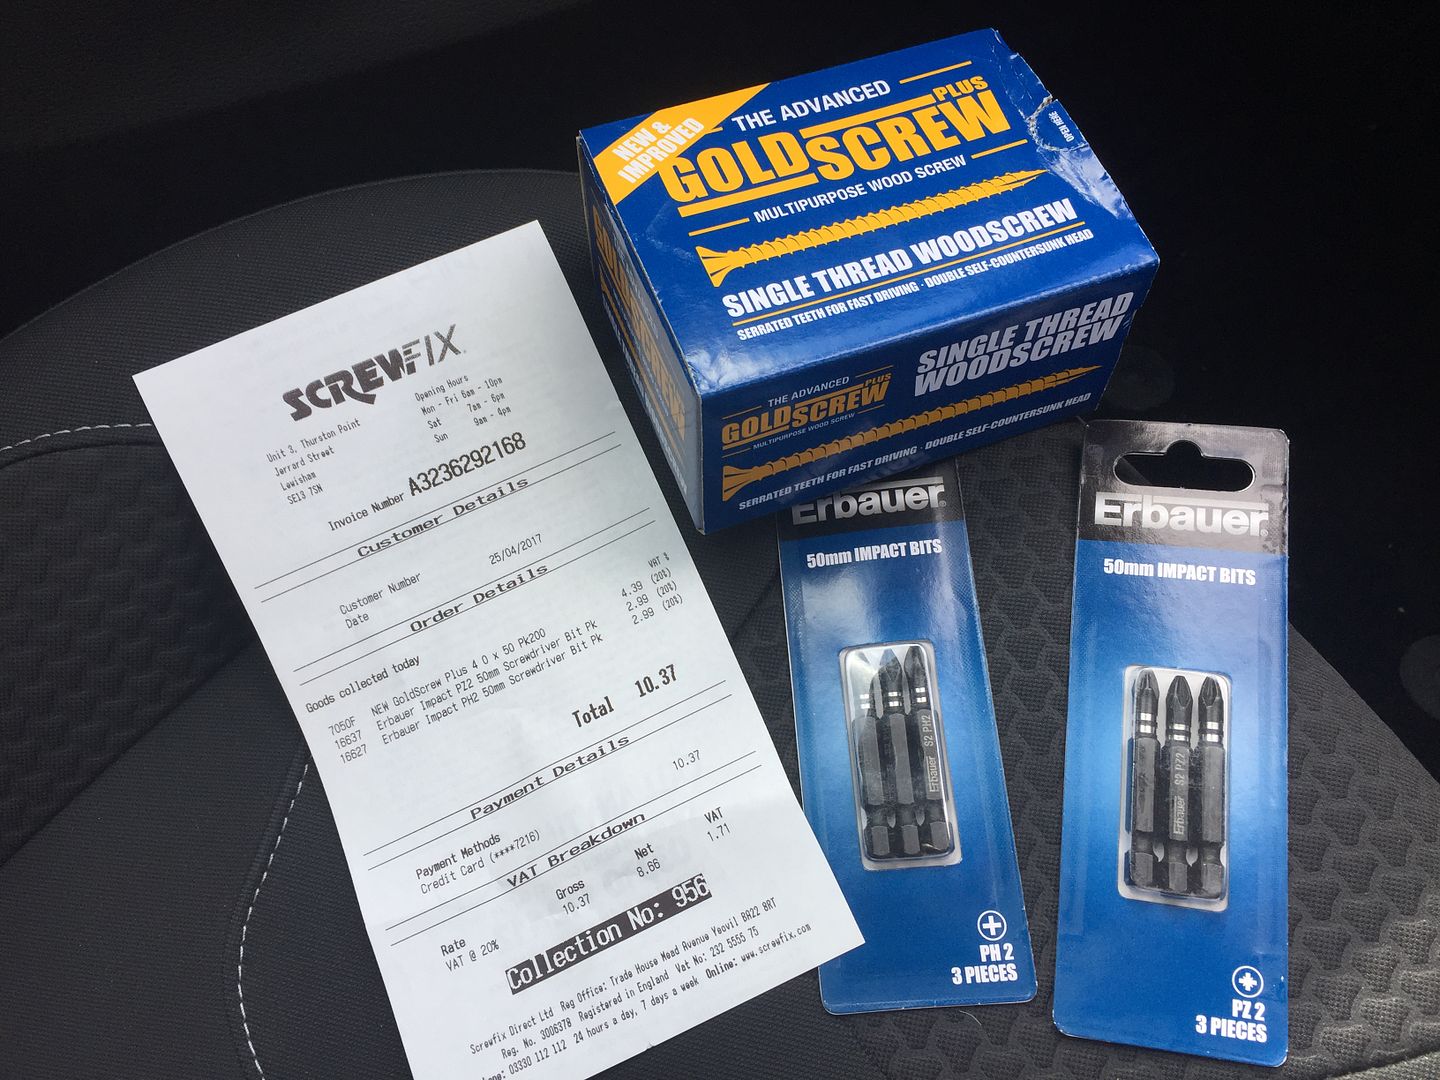
Having bought a few boxes of "50mm and 100mm length quick screws, and some new driver bits the costs of the project were still silly low. I may do an inventory of costs later.

I have to say, the right tools and equipment makes a big difference on progress, and being a solo job, it helps for sure.

Image

After that main framework was up, I decided to continue with the roof.

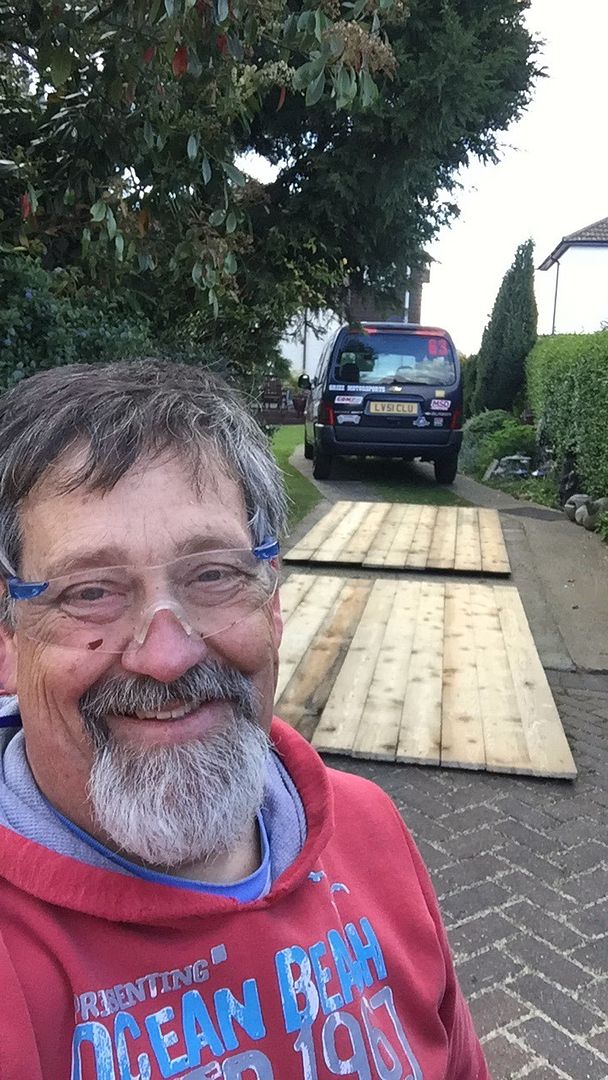
With all of Andy's planks, it also meant I had enough planks to create the roof, and save a further £66.00 that two sheets of decent ply would cost me, as I could not find used hoarding to buy anywhere.

Laid them out.

Image

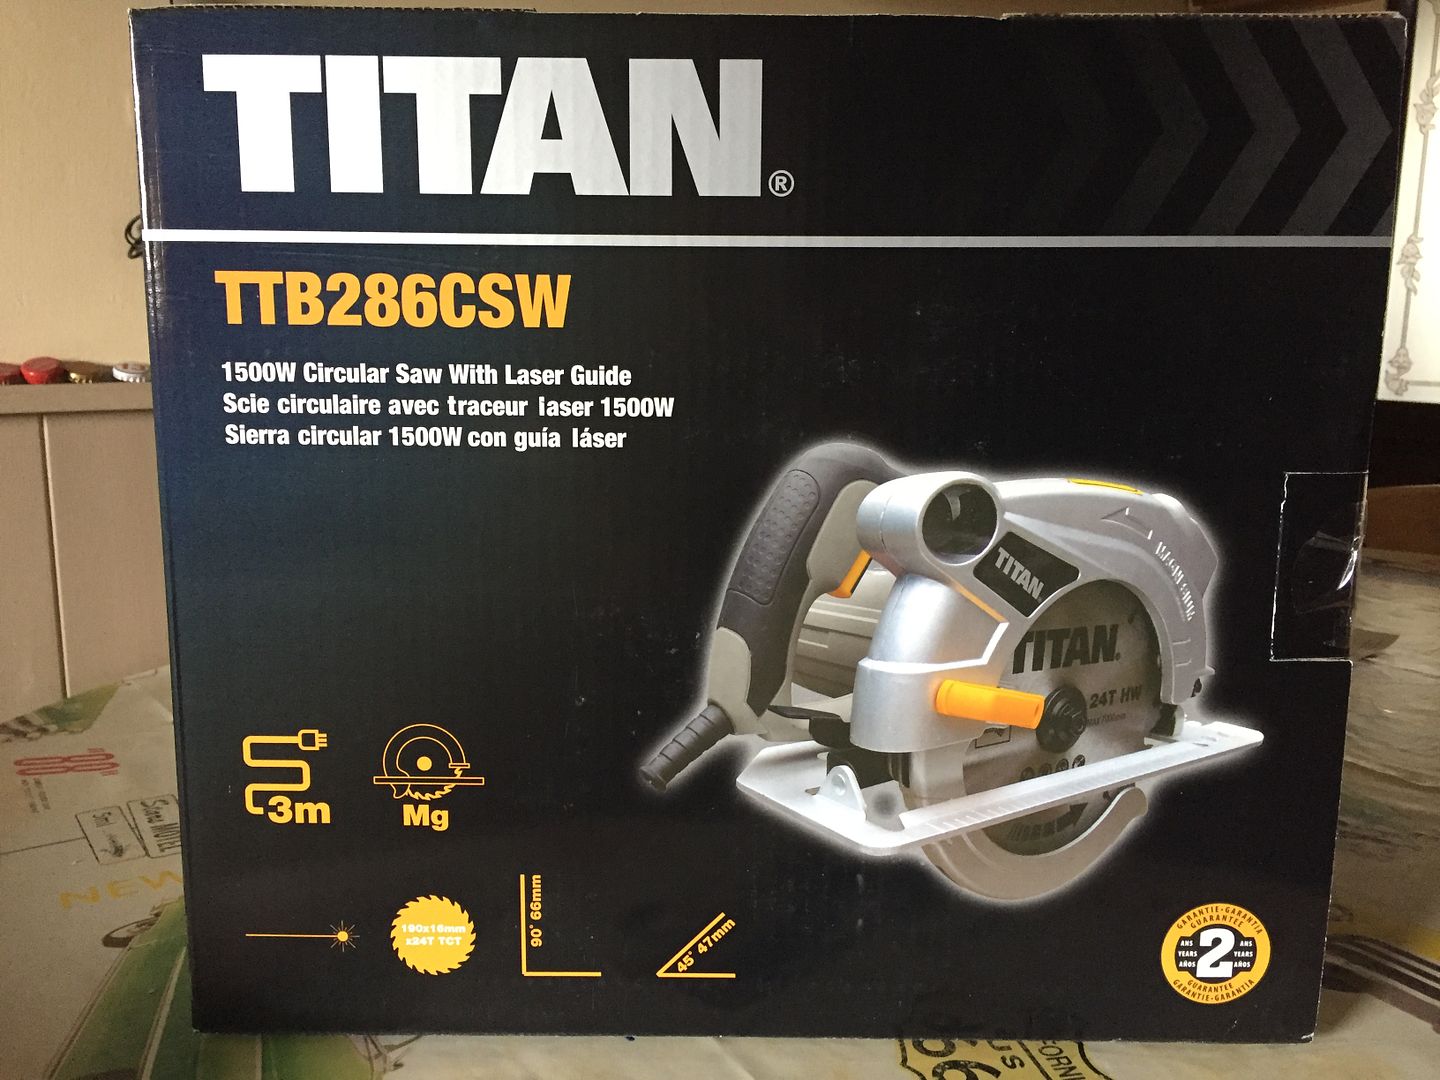
My last circular saw had eventually given up the ghost the night I did the framework for the roof and I completed the cuts with a handsaw and my trusty B&Q cheapest brand jigsaw, which I have managed to now drop on its face, bending its foot to the extent that corrective surgery was needed with a large garage ball pein hammer, accuracy now certainly not guaranteed, but it cuts.

So I popped into Screwfix for a second time to get more screws to replace the ones I stole off Mickeys work bench and bought a cheap circular saw. At £55.00 it was bought purely on spec, decent power, a soft start trigger and 190mm adjustable blade.

Image

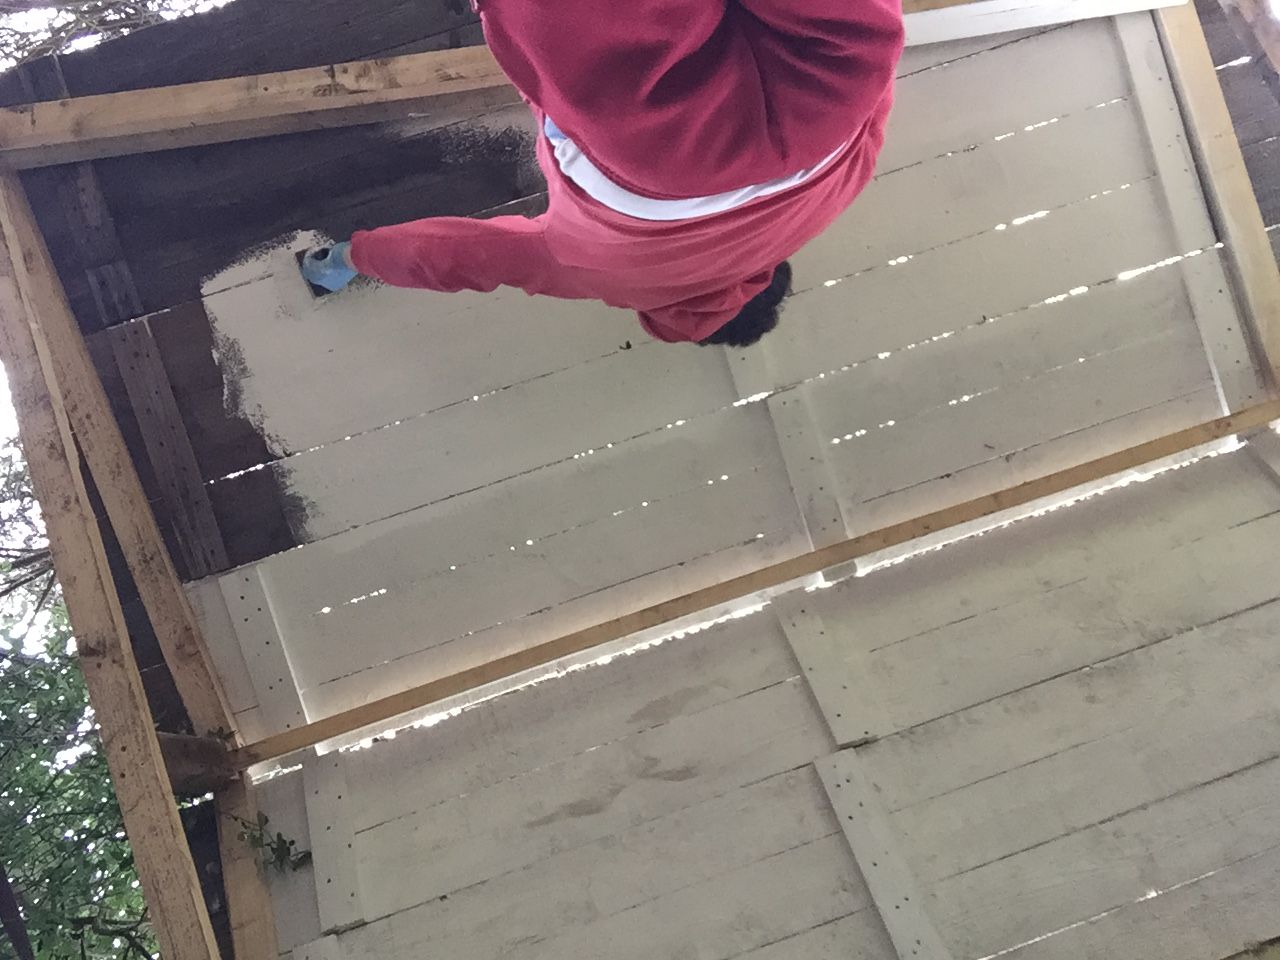
So on Wednesday evening after work I fitted the roof and also painted the rough cut timber inside of it.......

You may ask me why, and hopefully the reply will make sense.

Light reflection.

Image

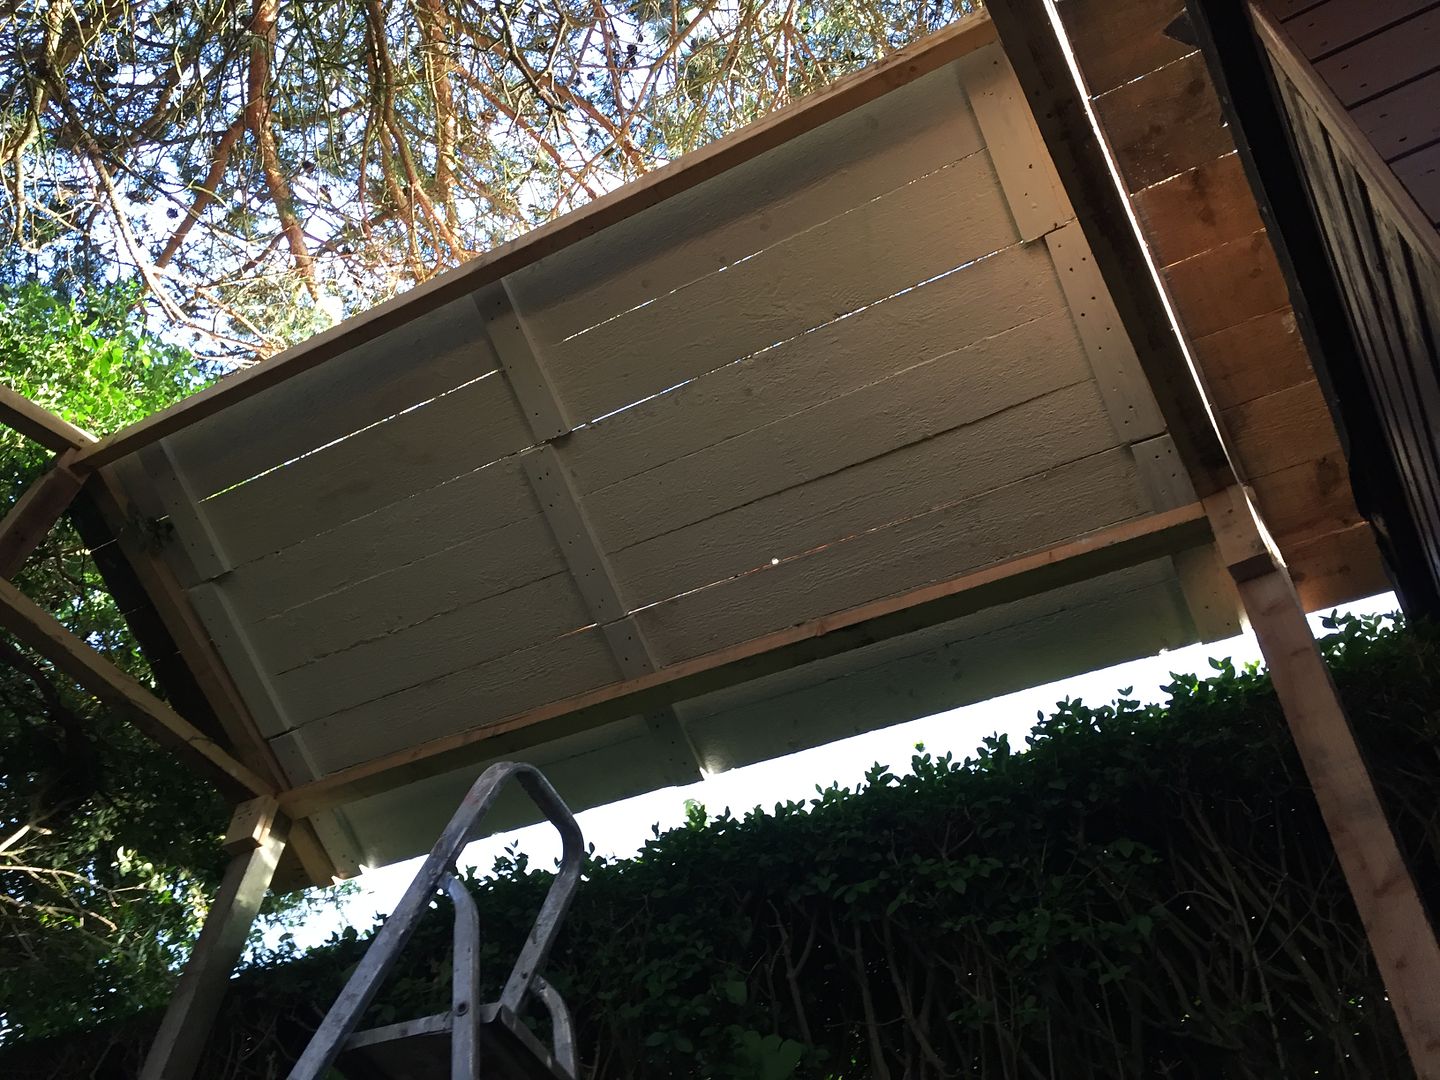
Keep in mind that the roof is getting felted in the end when you notice the gaps.

Image

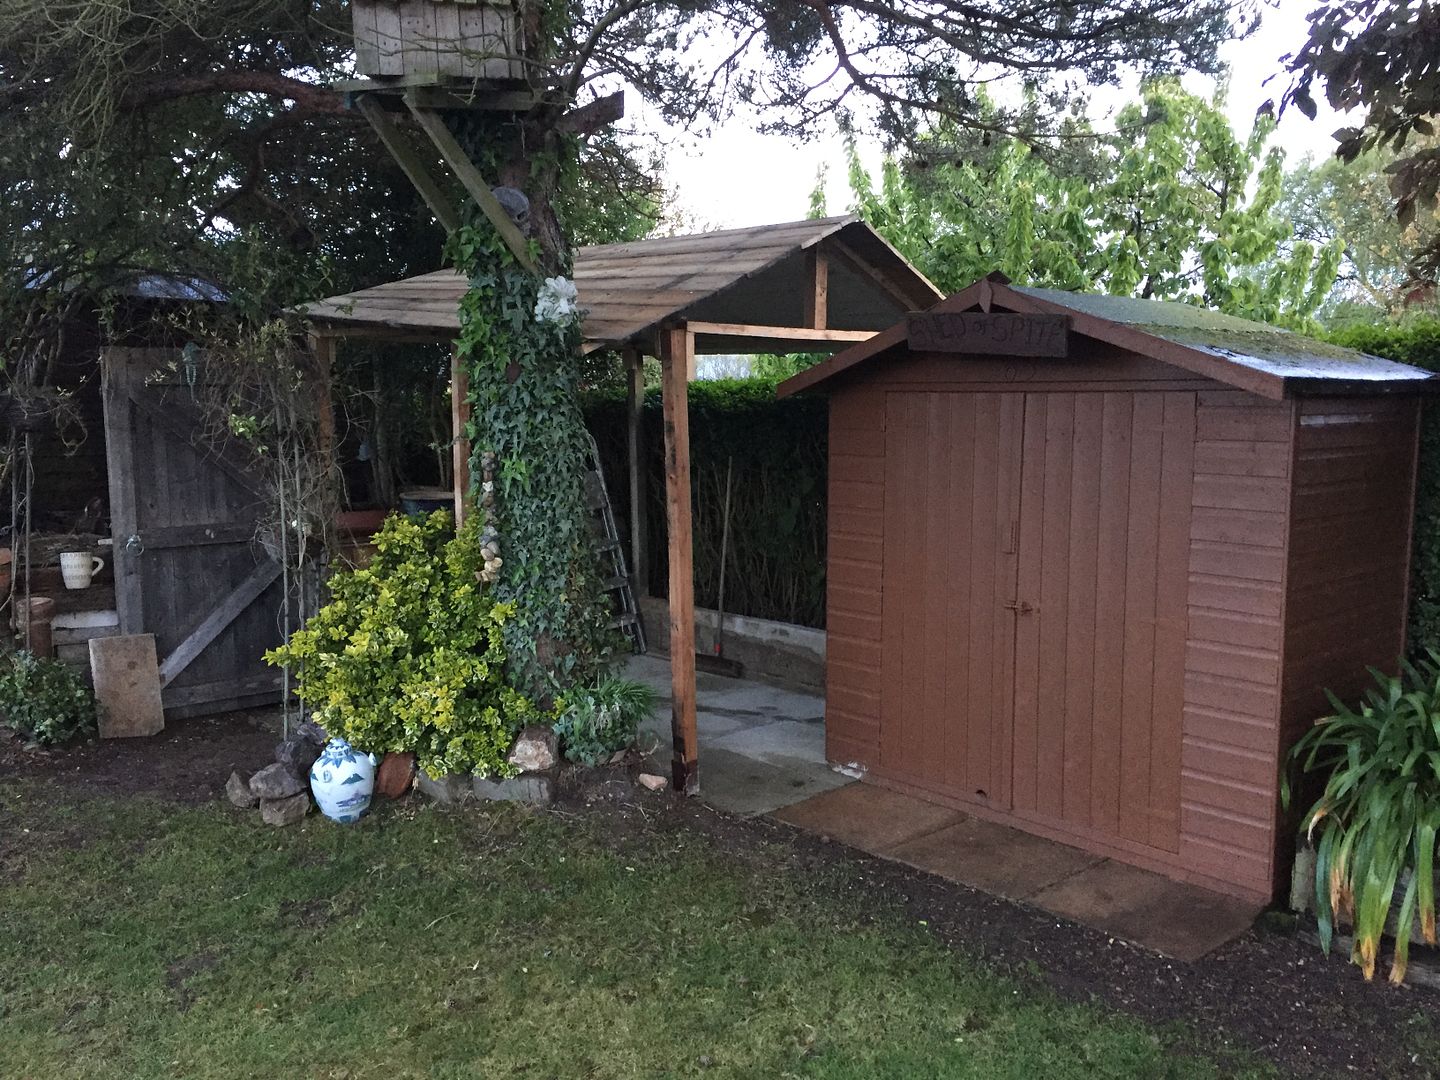
Who remembers the size of the footprint of the shed??

Remember the reasons for it being weird shaped?

Yes, my tree had a lotto dowith it, as did the free door I found in the GP surgery skip, and then of course the fact I am greedy and thought a couple of extra square feet in space sounded good.

I had not considered for a moment that all this would result in nothing being straight.

This included the roof.

BUGGGERRRRRRR...!!!!!!!!!!

Can you see the mistake?

Well, not a mistake, because any way you cut it, there would be an odd shaped wall or roof angle.

Image

But by the time I realised it, it was too late and almost dark.

So I showered and went to bed, having shared a few pics with the likes of mates Martin, Kevin, CraigRK and Ta2Don and Dennis in Saint Louis.

Sadly, most of them suffer from varying degrees of OCD and had to state that it was just not right........ "You gotta fix it man"

I was working in London for the day on Thursday, so by the time I was on the 07.24 train a plan had hatched, and I could address it at least partly.

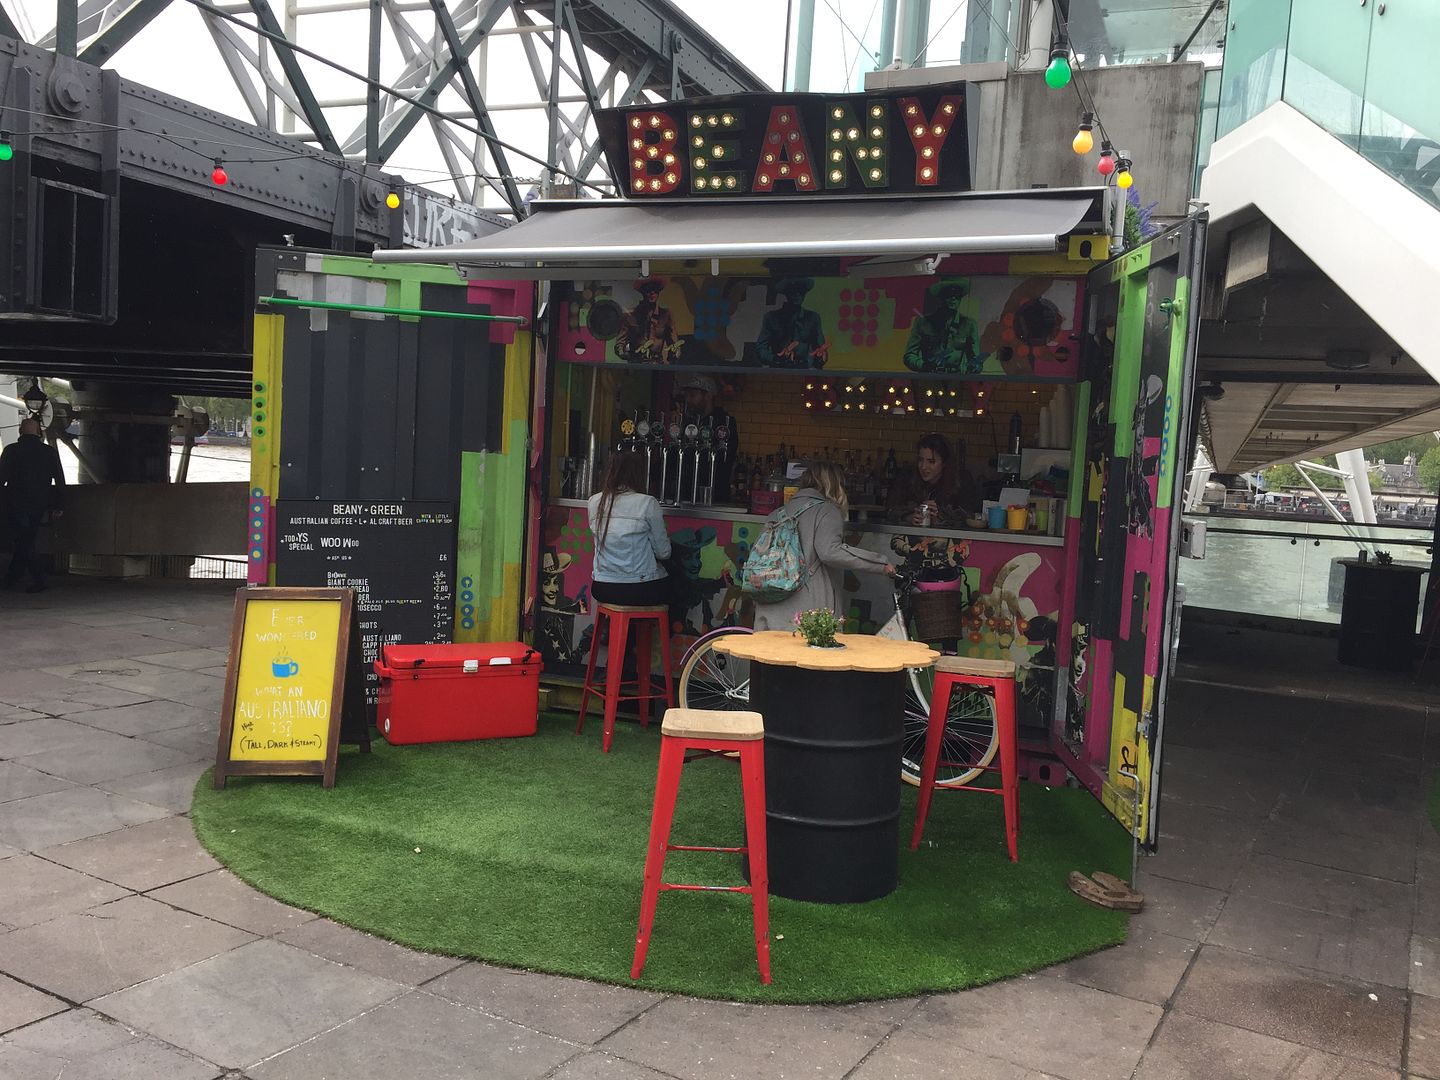
I walked from Charing Cross to St Thomas' Hospital, and again felt privileged for the random stuff I get to see.

Image

Image

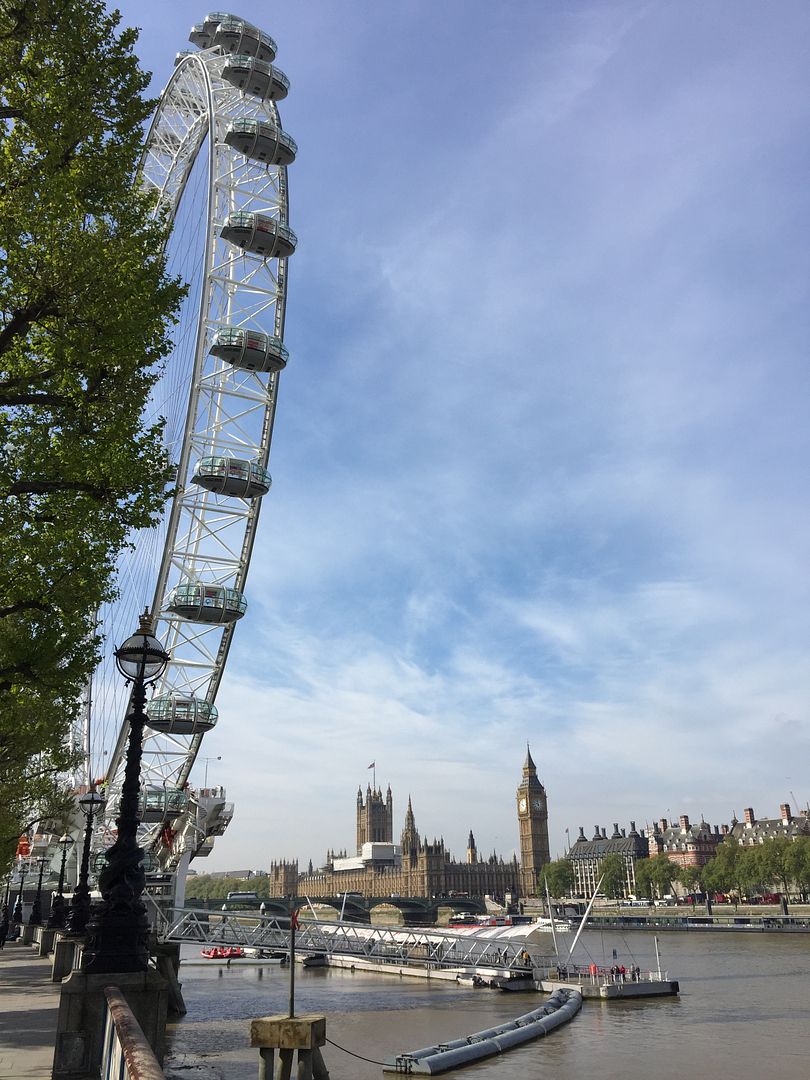
Small shipping container coffee shop.

Image

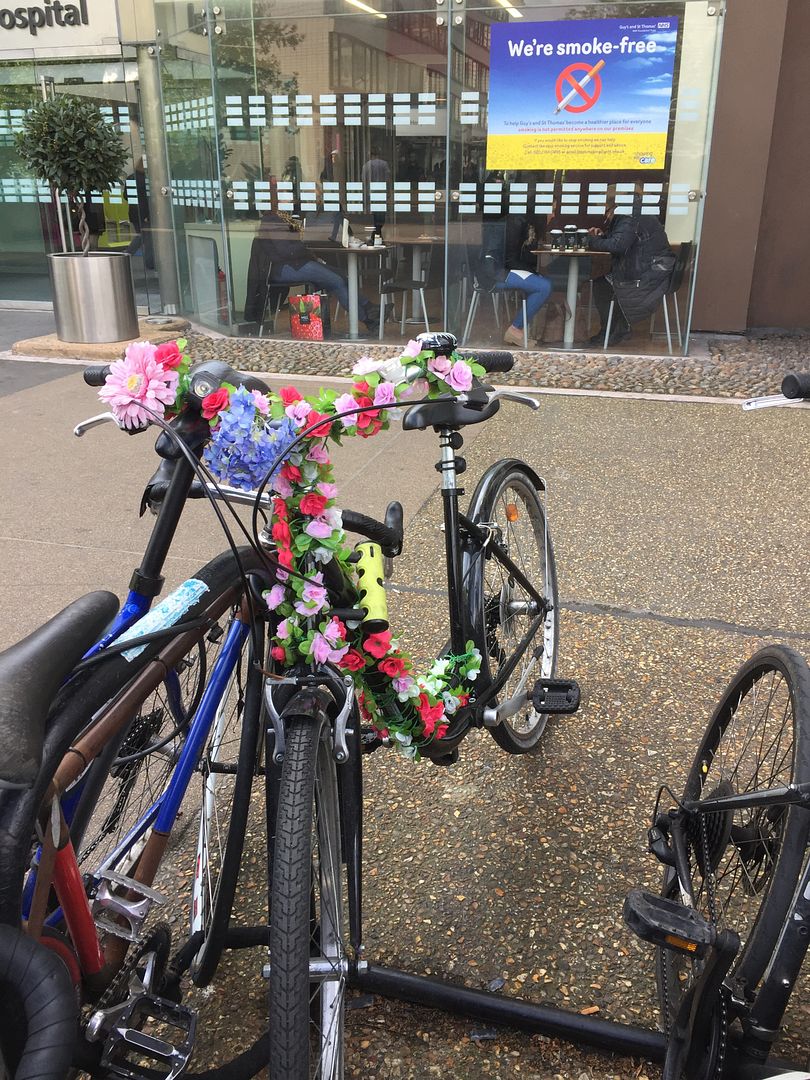
Your doctors transport?

Image

So Thursday evening I went back to basics, and it made me smile once I had gotten on with it.

Back in a while to update.

User avatar
Johann66
Posts: 248
Joined: Fri 14 Apr 2017, 13:21

Re: Grizz's Redneck Express 1966 Chevy Short Fleetside BILL

Post by Johann66 » Sun 30 Apr 2017, 20:11

One never says no for usable Wood!! (and Steel)!! :mrgreen:

Grizz1963
Posts: 160
Joined: Sat 18 Feb 2017, 08:25

Re: Grizz's Redneck Express 1966 Chevy Short Fleetside BILL

Post by Grizz1963 » Sun 30 Apr 2017, 20:54

Johann66 wrote:One never says no for usable Wood!! (and Steel)!! :mrgreen:

Definitely not !!


So all day I walked around with the ideas spinning around in my head.

Odd curved roof ??

Or

Wall with two distinctly different heights?

Got home, did some admin, then out to the garden.

Simple solution really.......


Image

Closer up.

Image

So I decided to raise the roof and change the shape of the wall.

Much easier on my OCD.

There......

Much better

Image

Image

Next up, start making up the walls, rear wall first.

Image

Two piles of wood became one.

Good result for after hours working.

Image

So there you go.

Roof sorted, I could sleep a bit better.

More later for those of you following this build process.

Grizz1963
Posts: 160
Joined: Sat 18 Feb 2017, 08:25

Re: Grizz's Redneck Express 1966 Chevy Short Fleetside BILL

Post by Grizz1963 » Sun 30 Apr 2017, 23:03

Friday came and went, uneventfully, except for a pair of lodgers, twins arriving to stay for a few days.

I had arranged with Kevin who had arranged for 15 railway sleepers or ties in American, to be delivered to his place to drive over at 06.45 on Saturday to help him load 5 plus two for my shed build.

When we had loaded them into his van, it seemed a great idea to cart the rest around his house by about 300 degrees, and carry them into his upper garden, remember the patio we built there last year? Same place. The old paving slabs were now being used in my shed build.

Once that was done we came back over to my place, Prozac in the lead...... filled with more wood from Kevin's place and glass.

I had already been to a local double glazing place earlier on, on my way to Kevin's place and picked up some old windows.

Image

Image

Five good and very solid sleepers unloaded and stacked.

Image

Remember the plus 2

They were rotted, one was already used as a retainer, and this one will be used as a planter for alpine.

Image

Then onto measure, cut, fit, repeat.

Getting all the sleepers cut and fitted to act as a foundation to the rest of the shed walls.

Image

After a few hours, this was all that was left over.

The new circular saw was certainly earning its keep.

Image

And a bucket load of sawdust and chippins and rebated bits.

Image

I had also decided to use three courses against the soil wall Kevin and I had dug out over Easter weekend.

Happy with that result too.

Image


Next up was coffee and digestives, the constant pace and few bad nights of little sleep plus the sheer weight of working the sleepers alone was catching up.

Still, it was progressing faster than anticipated.

More in a bit.

Post Reply

Social Media


Who is online

Users browsing this forum: No registered users and 11 guests